Drawing kuromi tekenen can be a real challenge. I get it, her unique style and features make her stand out. But don’t worry, I’ve got you covered.
This guide is all about making it easy for you to bring Kuromi to life on paper. Whether you’re a beginner or a seasoned artist, you’ll find the step-by-step instructions super helpful. Let’s dive in, shall we?
Understanding Kuromi: Key Features and Characteristics
Kuromi’s Appearance
Kuromi stands out with her black fur, devil horns, and a skull bow. Her mischievous expression completes the look. It’s a unique style that’s both cute and edgy.
Character Background
Kuromi is known for her sassy and rebellious personality. She’s not your typical Sanrio character. In the Sanrio universe, she often plays the role of a troublemaker, but with a heart of gold.
This duality makes her a fan favorite.
When I first tried kuromi tekenen, I made a few mistakes. One big one was focusing too much on the details and not enough on the overall shape. The result?
A drawing that looked more like a confused cat than Kuromi.
I learned that getting the basic shapes right first is crucial. Once you have those down, adding the details becomes much easier. Trust me, it makes a huge difference.
Materials Needed for Drawing Kuromi
When it comes to drawing Kuromi, having the right tools can make all the difference. Let’s start with the essentials.
- Pencils: A good set of pencils is a must. I prefer a range from 2H to 6B for different line weights.
- Erasers: You’ll need a reliable eraser. Kneaded erasers are great for light touch-ups, while a standard eraser works well for bigger mistakes.
- Paper: Quality paper is key. Smooth Bristol board or sketch paper works best for detailed drawings.
For coloring, you have a few options:
- Markers: If you like bold, vibrant colors, markers are the way to go.
- Colored Pencils: These are perfect for more subtle, layered effects.
- Digital Tools: If you’re into digital art, a tablet and software like Procreate or Photoshop can be incredibly versatile.
Now, let’s talk about some optional tools that can enhance your kuromi tekenen experience.
- Light Boxes: These can be super helpful for tracing and refining your sketches. They provide a clear, even light that makes it easy to see through your paper.
- Tracing Paper: Similar to a light box, tracing paper allows you to transfer your designs cleanly and accurately.
I’m not going to pretend I know everything. Sometimes, finding the perfect combination of tools can be a bit of trial and error. But with these basics, you’ll be well on your way to creating some fantastic Kuromi artwork.
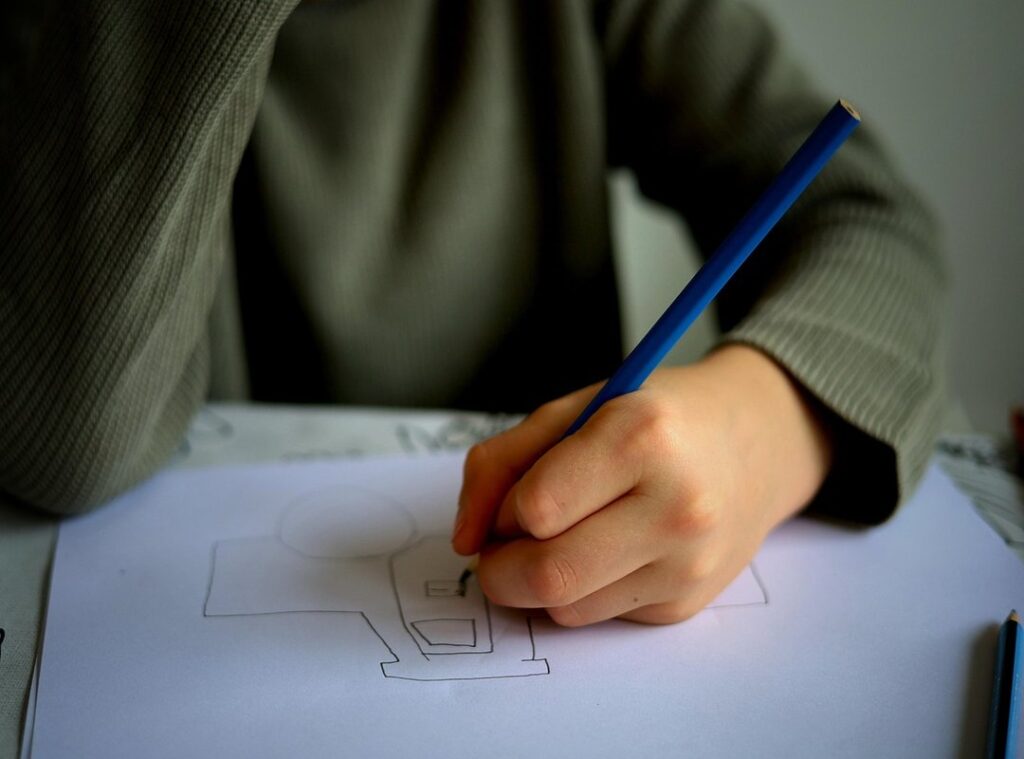
Step-by-Step Guide to Drawing Kuromi
Drawing Kuromi can be a fun and rewarding experience. Let’s break it down into simple steps.
Step 1: Sketch the Basic Shapes
Start with simple shapes to outline Kuromi’s head and body. Think of her head as an oval and her body as a slightly rounded rectangle. This helps in getting the proportions right.
Step 2: Add Details
Draw her eyes, nose, mouth, and other facial features. Her eyes are large and expressive, and her nose is small and cute. Don’t forget her mischievous smile!
Step 3: Refine the Outline
Add more details to her ears, horns, and skull bow. Her ears are long and pointy, and her horns are curved. The skull bow is a key feature, so make sure it stands out.
Step 4: Finalize the Drawing
Erase unnecessary lines and add shading and texture to bring Kuromi to life. Shading under her chin and around her eyes can give her a more three-dimensional look.
Step 5: Color Your Drawing
Use your chosen coloring tools to add color and depth to your drawing. Traditional colors for Kuromi include black, white, and pink. Feel free to get creative with your palette.
Pro Tip: Practice makes perfect. Try drawing Kuromi multiple times to get a feel for her unique features.
Kuromi tekenen can be a great way to improve your drawing skills and have some fun. Just remember, every artist has their own style, so don’t be afraid to put your personal touch on your drawing.
Tips and Tricks for Drawing Kuromi
Drawing Kuromi can be a fun and rewarding experience, especially if you get her proportions right. Start by focusing on the head-to-body ratio. Her head is usually about one-third of her total height.
This helps in maintaining the cute and compact look that’s so characteristic of her.
Proportions: Tips for Maintaining the Correct Proportions of Kuromi’s Features
One key aspect is her eyes. They should be large and expressive, taking up a good portion of her face. Her ears, which are often adorned with a skull accessory, should sit just above her eyes.
Keep them symmetrical to avoid making her look lopsided.
Expression: How to Capture Her Mischievous and Playful Expressions
Kuromi’s expressions are what make her stand out. To capture her mischievous and playful side, pay attention to her eyebrows and mouth. A slight tilt or arch in her eyebrows can convey a lot. read more
For her mouth, a small, sly smile or a playful pout works well. Experiment with different expressions to find the one that best fits your drawing.
Shading: Techniques for Adding Shading to Give Your Drawing More Depth and Dimension
Shading is crucial for adding depth and dimension. Start by identifying the light source. This will help you determine where the shadows should fall.
Use soft, gradual shading to create a smooth transition from light to dark. This technique, known as kuromi tekenen, can really bring your drawing to life.
Pro tip: Practice makes perfect. Don’t be afraid to start over if something doesn’t look right. With time and patience, you’ll get better at capturing Kuromi’s unique charm.
Common Mistakes and How to Avoid Them

Mistake 1: Incorrect Proportions
Getting Kuromi’s features just right can be tricky. It’s easy to make her eyes too big or her ears too small. Pro Tip: Use a grid to map out the proportions before you start drawing.
This helps keep everything in balance.
- kuromi tekenen is all about getting those details perfect, so take your time.*
Mistake 2: Overcomplicating the Drawing
Sometimes, less is more. Adding too many details can make your drawing look cluttered. Keep it simple and clean.
Focus on the key features that make Kuromi recognizable. Trust me, simplicity can be stunning.
Mistake 3: Ignoring Reference Images
Using reference images is a must. They help you stay true to the character’s design. Without them, you might miss important details.
Think of it like following a recipe; you need the right ingredients to get the right result.
FAQs About Drawing Kuromi
Q1: What if I don’t have all the materials listed?
A: You can still draw Kuromi with basic tools; just be creative with what you have. For example, a simple pencil and paper can work wonders.
Q2: How long does it take to get good at drawing Kuromi?
A: Practice regularly, and you’ll see improvement over time. There’s no set timeline, but consistency is key.
Even a few minutes a day can make a big difference.
Q3: Can I use digital tools to draw Kuromi?
A: Yes, many artists use digital tools. Just make sure to familiarize yourself with the software.
Start with something user-friendly like Procreate or even a free app like Sketchbook.
Q4: What if my first attempts at kuromi tekenen look terrible? A: Don’t worry, and everyone starts somewhere.
Keep practicing and try breaking down the character into simpler shapes. Sometimes, focusing on one part at a time can help.
Mastering the Art of Drawing Kuromi
Recall the essential steps and tips for drawing this character. Focus on the proportions, the distinct features, and the overall style to bring kuromi tekenen to life. With every sketch, pay attention to details like her bow, facial expressions, and outfit.
Practice makes perfect, and don’t be discouraged by initial attempts. Every artist starts somewhere.
Keep refining your technique. Share your progress with others and seek feedback. Continue to challenge yourself with new poses and styles.
 Larry Busselinalo writes the kind of designer runway reviews content that people actually send to each other. Not because it's flashy or controversial, but because it's the sort of thing where you read it and immediately think of three people who need to see it. Larry has a talent for identifying the questions that a lot of people have but haven't quite figured out how to articulate yet — and then answering them properly.
They covers a lot of ground: Designer Runway Reviews, Style Buzz, Willistyle Couture Analysis, and plenty of adjacent territory that doesn't always get treated with the same seriousness. The consistency across all of it is a certain kind of respect for the reader. Larry doesn't assume people are stupid, and they doesn't assume they know everything either. They writes for someone who is genuinely trying to figure something out — because that's usually who's actually reading. That assumption shapes everything from how they structures an explanation to how much background they includes before getting to the point.
Beyond the practical stuff, there's something in Larry's writing that reflects a real investment in the subject — not performed enthusiasm, but the kind of sustained interest that produces insight over time. They has been paying attention to designer runway reviews long enough that they notices things a more casual observer would miss. That depth shows up in the work in ways that are hard to fake.
Larry Busselinalo writes the kind of designer runway reviews content that people actually send to each other. Not because it's flashy or controversial, but because it's the sort of thing where you read it and immediately think of three people who need to see it. Larry has a talent for identifying the questions that a lot of people have but haven't quite figured out how to articulate yet — and then answering them properly.
They covers a lot of ground: Designer Runway Reviews, Style Buzz, Willistyle Couture Analysis, and plenty of adjacent territory that doesn't always get treated with the same seriousness. The consistency across all of it is a certain kind of respect for the reader. Larry doesn't assume people are stupid, and they doesn't assume they know everything either. They writes for someone who is genuinely trying to figure something out — because that's usually who's actually reading. That assumption shapes everything from how they structures an explanation to how much background they includes before getting to the point.
Beyond the practical stuff, there's something in Larry's writing that reflects a real investment in the subject — not performed enthusiasm, but the kind of sustained interest that produces insight over time. They has been paying attention to designer runway reviews long enough that they notices things a more casual observer would miss. That depth shows up in the work in ways that are hard to fake.